Last year (2018) I finished a 7 year restoration of my little Piper J3 Cub. You figure out really quick on these things, that there is nothing hard about it, it’s really just an exercise in gathering the information you need, then teaching yourself how to do it. If you have any mechanical inclination, you can do it!
A little disclaimer. I do hold an A&P rating and have always done light maintenance on my own aircraft. But, really nothing more than most owners. Oil changes, owner assisted annuals etc. But never anything as major as restoring a J3. So, like many of you, I had the basic mechanical skills, but I had never painted a single thing in my life!
Gathering information on these things can be very time consuming. You find yourself trying to put something back together that you took apart 5 years ago. Or maybe you picked it up completely disassembled! You may have no idea how it was on and just need a hint at how it goes back. So, you scour the internet looking for a picture or drawing of that part.
During my build, I never saw a comprehensive set of restoration pictures from start to finish. I’m going to share my pictures and journey at FatTireCowboys.com or just CLICK HERE
BEFORE YOU START
Understand that this will be a journey! It’s going to take time… a lot of time. A lot will happen in your life. I took 7 years. However, I initially worked on it about 3 months, then I took virtually 1 year off from it. I then committed to 3 months per year. Every day I would work in my office until noonish, then go work on the Cub until 6 PM. Then, the last full year, I worked on it every day, even if it was only for an hour after work.
During that time, I graduated a child from high school, buried my father, graduated a kid from Texas Tech, my mom fell and broke both arms, graduated another one from Texas Tech, and married her off. Then I had softball hail beat the skylights out of my hangar and punch holes in the freshly restored covering RIGHT after I finished the Cub. My point is that life is going to keep happening. You’ll have highs and lows in your life along with milestones and setbacks on the project. I enjoyed every minute of the Cub restoration. It was a great place to get away from life stresses and just concentrate on building the little Cub. But, I don’t want to do another one! LOL!
It’s really important at this point to decide what kind of restoration are you going to do? 30 footer, Flyer, or a Show Winner.
I built a flyer. She’s beautiful, but definitely not a show winner. I can see every mistake I made. Ninety percent of people will never see the flaws, unless I point them out. But, I can see exactly where I really got the painting thing down pat! Some people just throw them together and they end up looking pretty good from 30 feet. It only takes about 20% more time to build a beautiful one. You’re going to spend hundreds and hundreds of hours on this thing. The 20% is a small investment to ensure it looks great. Commit to that ahead of time! Sometimes you have to rip it off and start over!
Another big decision is deciding what type covering system you want to use. I think all of them host covering classes around the lower 48. I know SuperFlite does. They are all expensive. They all have their pros and cons. Research them!
I had great luck with SuperFlite’s system. I chose it because it has a high gloss finish that lasts a long time and it’s easy to blend the paint if you need to repair it. Great customer service over there too.
Join CubClub.org and purchase an entire set of Cub Clues! These are an absolute must have! They are virtually a set of instructions for the Cub! If you need to know it, it’s in there!

Join J3-Cub.com, they’ve got a really active message board!
The great thing about the Cub is that you can most likely purchase every single part of it somewhere. You just have to want it bad enough! Parts are very expensive, but definitely available.
STARTING THE JOURNEY
If you have an assembled airplane, take tons of pictures before you start taking it apart. It may be years before you reassemble! Trust me, they will be invaluable to you!
Lot’s of up close random pictures. Here’s the deal with all these pictures. At first I started taking pictures of major assemblies. That’s a good thing, but what ends up happening is that you need to install a random item and you don’t know which direction it was installed. So, you look at pictures until you find one that gives a glimpse of that item. So take lots of random pictures!
Here’s something else that was a massive help to me. I bought ziplock sandwich bags. A couple different sizes. As everything came apart, I put the hardware in the baggie and labeled the bag with a sharpie. When I started putting it all back together, I knew exactly what kind of hardware was installed on that part. This saved a ton of time! I didn’t have to figure out what kind of hardware was on that part. I simply verified it was correct by the parts manual, then ordered the hardware.
I also bought paper item tags with strings on them. EVERY part got a tag denoting where it came from and which side, left or right. I did this on things I knew I wouldn’t use again too. Things like rudder cables. I just wanted to know exactly where they came from.
MY BUILD SEQUENCE
This is how I did it. It’s not the only way. It’s simply how I did it.
I was lucky enough to have a friend that had a jig for a J3. I put the airframe in the jig and took it to an A&P IA for repair.

Once it was repaired, I took it to a company and had it media blasted.

Before you take it to the media blasting company, be ready to paint it as soon as you get it back. Surface corrosion will set up really quick. It’s pretty arid here, I was able to wait until the next day, but in many parts of the country it could start surface corrosion over night!

I moved the airframe into my hangar and the very first thing I did was install the baggage canvas.

Next I put in the shoulder harness STC.

Next I installed the interior fabric. There is a sequence. Cub Clues will tell you exactly how to do it. Once you have the fabric installed, DO NOT shrink the fabric. It makes getting the floorboards back in much more difficult.

Next I sealed and painted my new floorboards, then installed them in the airframe, THEN I did the shrink on the fabric.

Next I painted the interior .

Next I repaired, refinished, or replaced and painted every part that was going back into the fuselage. When I started reassembling all this stuff, I didn’t want to keep stopping to refinish something, or wait on parts. I got all that out of the way ahead of time.
Next I installed the rudder peddles, front seat, rear seat sling, and all the control systems, including the trim system. I see people cover the whole thing before installing the rudder peddles. This will make installing them very difficult.

It’s here you need to make a decision on brakes. If you upgrade the brakes, some of them require you to install new master cylinders. You’ll want to do that before you cover the airframe. I went with the Grove for two reasons. One, they only work slightly better than the originals. For what I’m going to do with this little Cub, the originals have plenty of stopping power. Two, they use the original master cylinders.
DON’T MISS THIS ONE! If you replace or remove your vertical stab, or replace your rudder, be sure to pre-fit the rudder on the airframe BEFORE you cover the airframe. This will ensure that the distance between the rudder hinges is correct. If it’s slightly off, and you cover the fuselage, you’ll be taking the covering off!

With the fuselage assembly finished and sitting on its wheels, I put it to the side.
Wings

Then I started the wings. The wings are quite intimidating. But, again, lots and lots of pictures. They are not difficult to repair and work on!
I disassembled them, repainted the steel parts, replaced some ribs with Dakota Cub’s ribs, replaced the false spars with Dakota Cub’s, re-assembled them, eyeballed the squareness, then trammelled them.

With the fuselage and wings rebuilt, I then re-assembled the whole airplane. I had never taken an airplane apart to this extent. I was mortified that I would get it covered and then something would not fit. So, I did the dry fit and it gave me great peace of mind!

You figure out that you’re spending a lot of time teaching yourself to do things. So, when you learn a process, you want to do it all at the same time to avoid as much re-learning curve as possible.
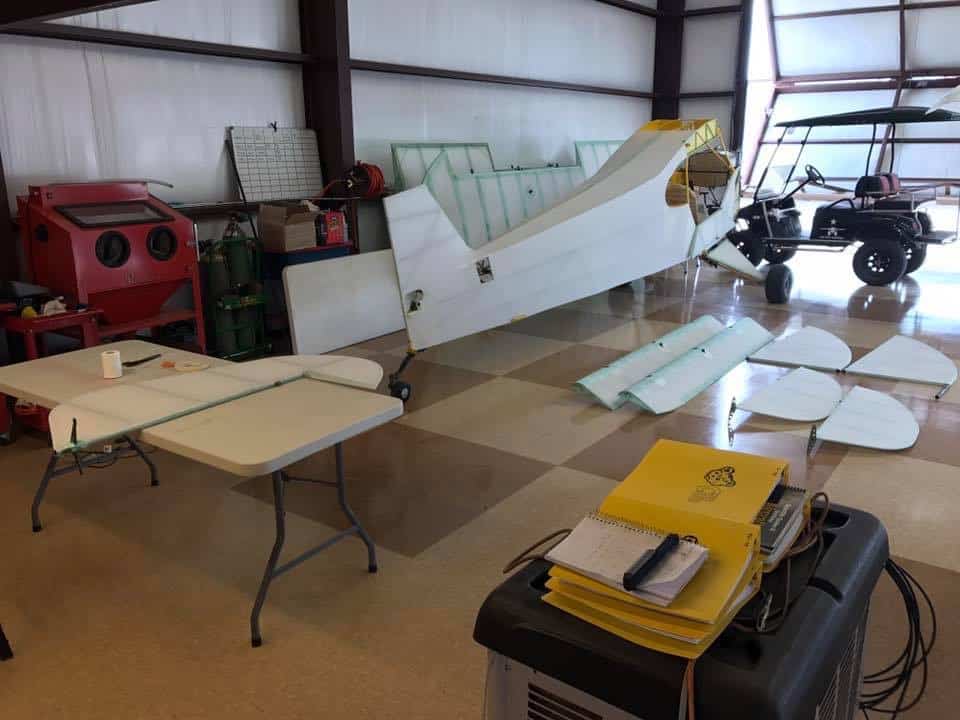
So, with everything mechanically rebuilt, I then began learning to cover. I covered the fuselage, then the wings, then the control surfaces and gear.
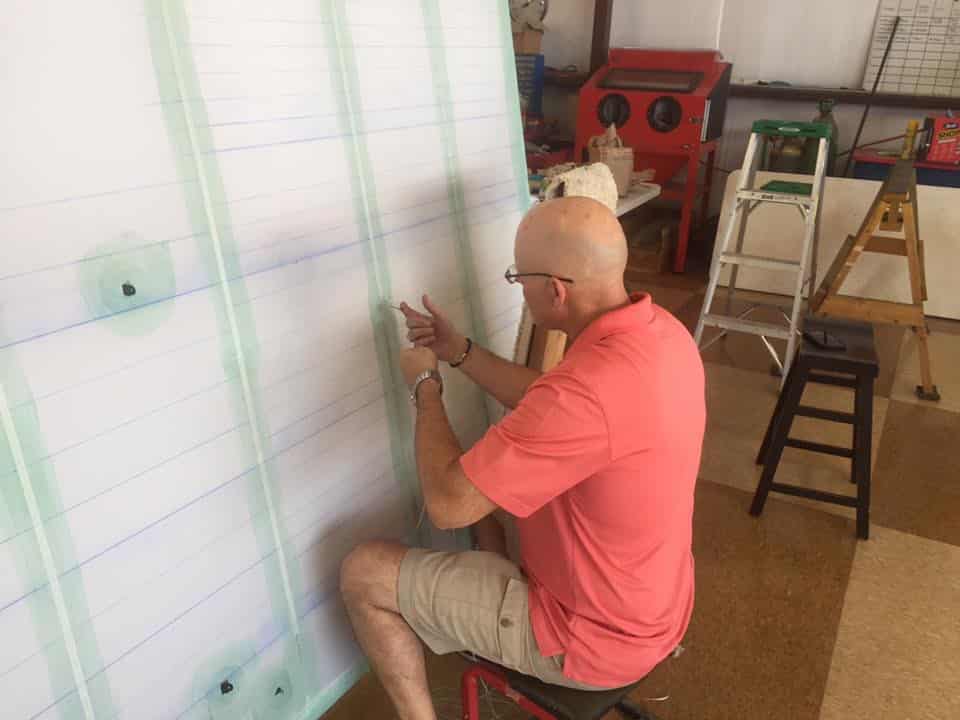
Next comes rib stitching the wings, and control surfaces.
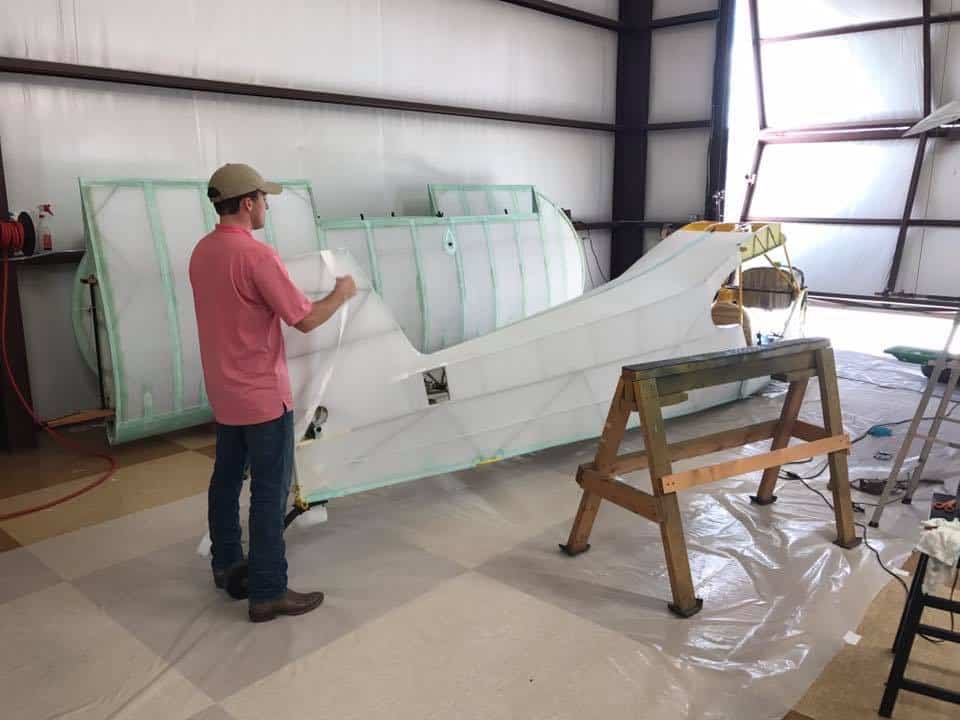
Then comes all the taping. It takes a lot of time to make sure the pinks are all laying down! What are pinks you might ask? You’ll know when you get there, I promise!

I then learned to apply the primer and sand it down smooth. I started with the control surfaces, then the fuselage, then the wings. Each day started with what I called the pink patrol. As you put on primer, some of the pinks will pop up. I’d glue them back down with a small amount of glue and the iron.
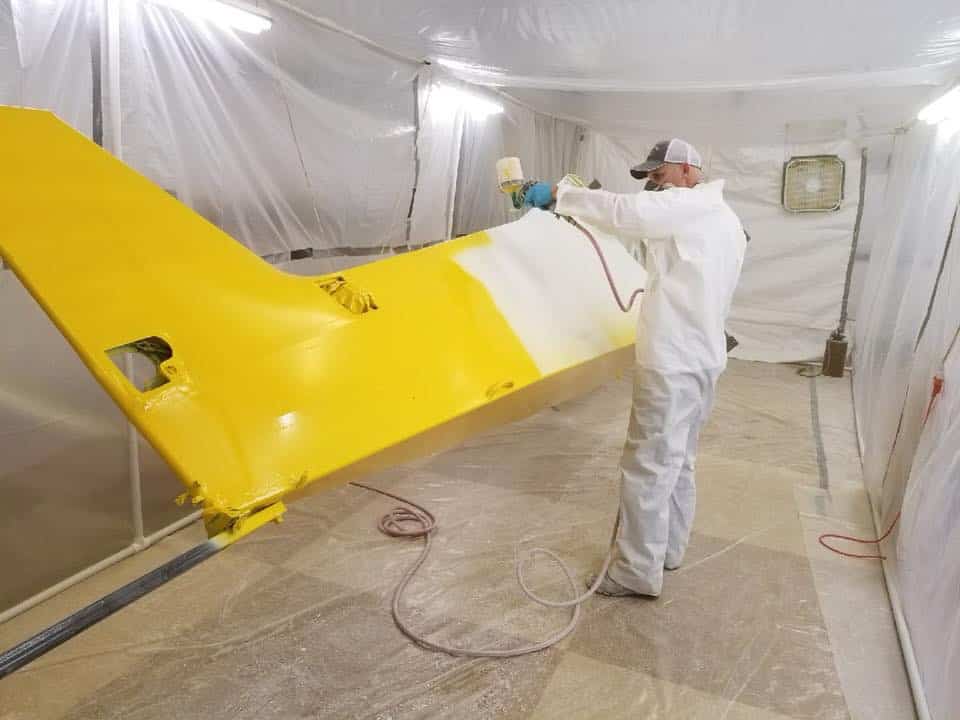
Learning to apply the yellow paint is not that difficult. I started with same sequence. Control surfaces, fuselage, then the wings. Same thing here, always watching for the pink that popped up.
Putting the lightening bolt on was a blast!

FINAL ASSEMBLY
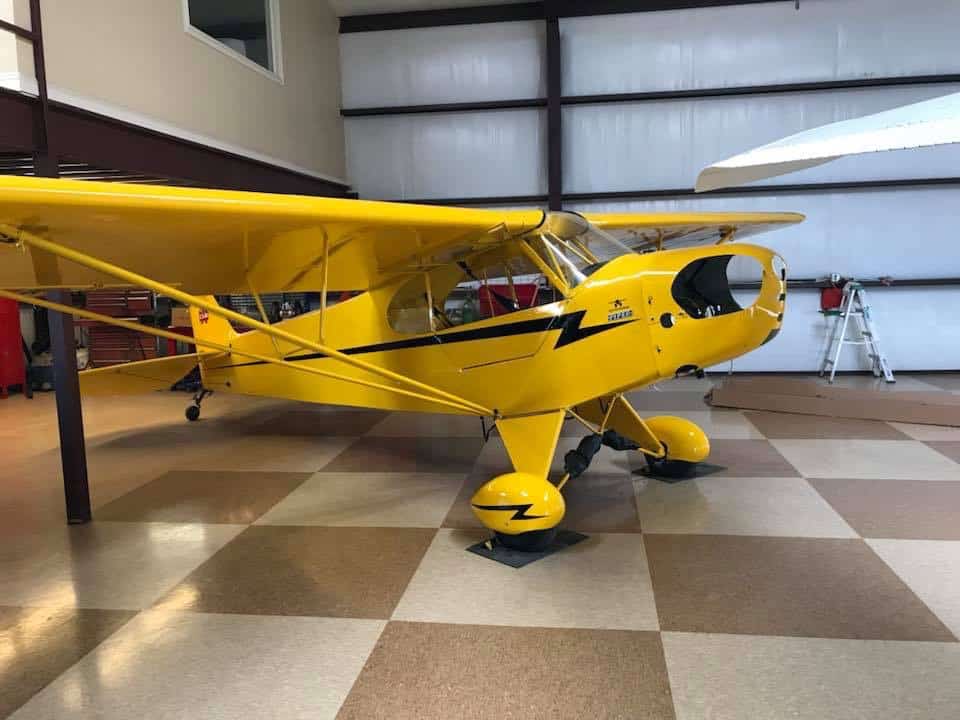
With everything painted, I put it back on its gear, and put the tailwheel on so the airframe was mobile again. I installed the instrument panel and instruments. Then the boot cowl, then the engine mount, then the glass, then the horizontal stab along with the elevators and rudder.

Putting the wings on was the next step and a huge mileston! Then I rigged them along with the rudder, horizontal stab and elevators.
Engine

I had not disassembled an engine since A&P school. So, this step was a lot of fun and very educational. Once disassembled, I sent all the parts to the appropriate places for inspection and overhaul.
Next, I sent the Stromberg NAS3 carburetor to Uni-Tech for overhaul. It took much longer to get it back than expected, and it was pretty pricey. But, I know it’s done correctly and it has worked flawlessly.

I purchased new magnetos, spark plugs and spark plug wires. I then had an IA re-assemble the engine and sign it off for annual.
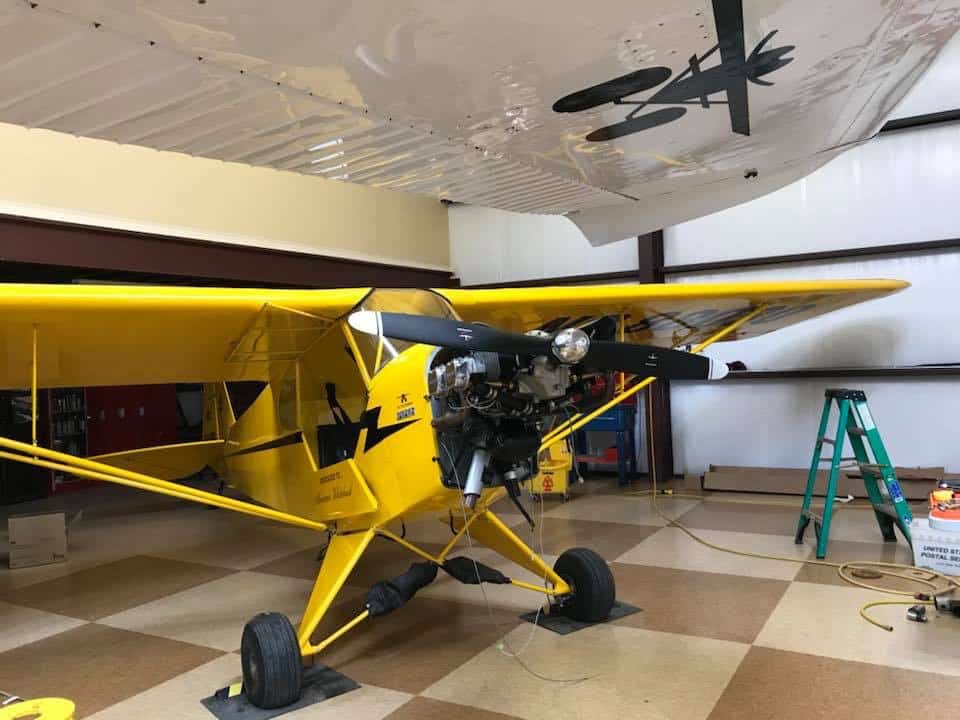
The new engine and prop installation was another huge milestone.
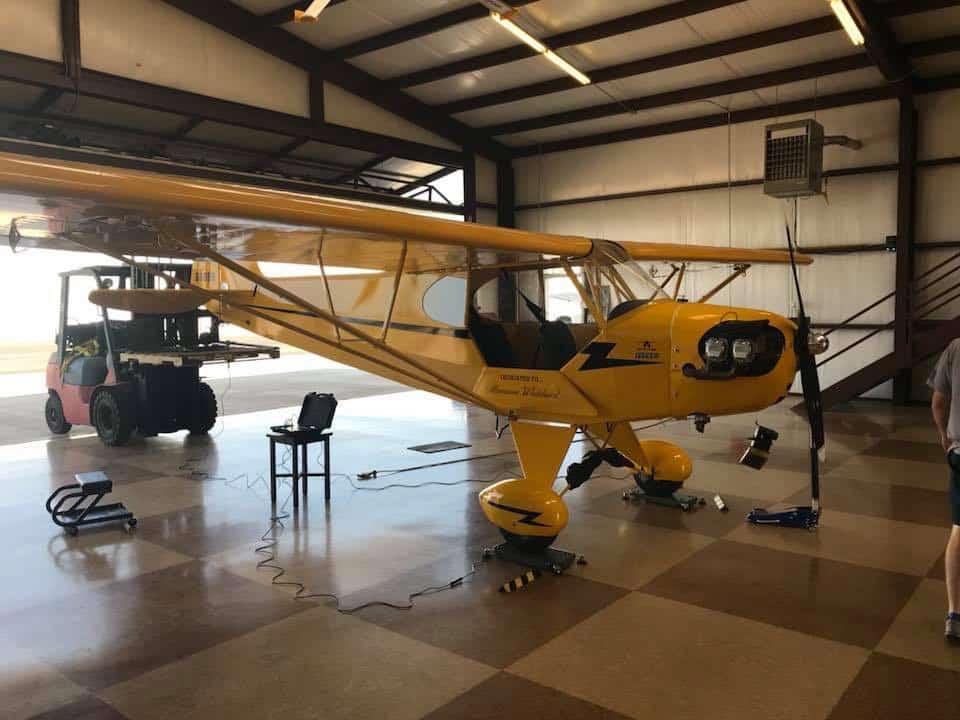
After such a comprehensive restoration a new weight and balance was required. I placed the aircraft on a set of scales and did an all new weight and balance.
It took a few hours to complete the necessary paperwork for all repairs, 337’s, and STC’s.
Being and A&P, I next performed a 100 hour inspection on the airframe. Then the IA signed off the annual inspection.

After everything was completed, I roller her outside and tied the tail down. It took a few pulls on the prop to get her to fire off. Eventually the engine fired off and I ran it for about 3 minutes, then shut it down and inspected for leaks. With no leaks, I again propped it off. This time I ran it for 3 minutes, then went to full power for 3 minutes, I again shut it down and checked for leaks.
I took hundreds of pictures of the restoration. Here is an indexed archive
THE TEST FLIGHT
Finally came the much anticipated test flight. It was almost anticlimactic! I had rigged the airplane exactly as the book called for and to my amazement, it flew perfectly right out of the box!
